Your First Brew: A Step-by-Step Guide to Making Simple Beer at Home
Feeling intimidated by home brewing? Don't be! This guide breaks down the process into manageable steps, perfect for absolute beginners. We’re going to walk you through everything you need to know to create your first batch of beer. Let’s get started!
What You'll Need: Essential Equipment
Before you start brewing, you’ll need a few key pieces of equipment. While you can gradually build your setup, here’s a basic list to get you started. It's worth noting that the complexity of your equipment can significantly impact your final product; if you’re overwhelmed, starting with the essentials is the best approach. To learn more about essential brewing equipment and how to build a foundational setup, check out our Essential Brewing Equipment: A Beginner's Guide to Getting Started.
- Brew Kettle: A large pot (at least 5 gallons) for boiling your wort.
- Fermenter: A food-grade plastic bucket or glass carboy for fermentation. 6.5 gallon capacity is standard.
- Airlock & Stopper: Allows CO2 to escape during fermentation while preventing oxygen from entering.
- Bottling Bucket: Another bucket with a spigot for easy bottling.
- Bottling Wand: Attaches to the bottling bucket spigot for filling bottles.
- Bottles: Approximately 50 x 12oz bottles (or equivalent).
- Bottle Capper & Caps: For sealing your bottles.
- Hydrometer (Optional): Measures the density of the wort, helping you estimate alcohol content.
- Thermometer: Important for accurate temperature control.
Gathering Your Ingredients: A Simple American Pale Ale Recipe
We’re going with a classic American Pale Ale for your first brew. This recipe is relatively straightforward and forgiving. The quality of your ingredients is also crucial, and while this recipe uses simple malt extract, understanding how different water profiles affect your brew can elevate your results significantly. If you're interested in diving deeper into that topic, check out our article on Understanding the Importance of Water Chemistry in Brewing.
Ingredients:
- Malt Extract: 5 lbs Light Liquid Malt Extract (LME) or 3.3lbs Dry Malt Extract (DME)
- Hops:
- 1 oz Cascade hops (for bittering) – added 60 minutes before the end of the boil
- 0.5 oz Cascade hops (for aroma) – added 5 minutes before the end of the boil
- Dry Brewing Yeast: Safale US-05 or similar American Ale yeast
- Priming Sugar: 3/4 cup Corn Sugar (for carbonation)
The Brewing Process: Step-by-Step
1. Sanitation is Key!
Seriously, clean everything that will touch your beer. Use a brewing sanitizer like Star San. This prevents unwanted bacteria from ruining your brew. Proper sanitation is arguably the most crucial step – neglecting it can lead to a sour, off-flavored beer that’s unpalatable. Failing to properly sanitize can also compromise the health and safety of your brew. Understanding common brewing pitfalls, such as sanitation errors, is essential for beginner brewers.
2. The Boil
Heat 2.5-3 gallons of water in your brew kettle. Add the malt extract and stir until fully dissolved. Bring to a rolling boil. Add the bittering hops, and boil for 60 minutes. Add the aroma hops during the last 5 minutes. Maintain a good boil throughout. A vigorous boil helps isomerize the alpha acids in the hops, which is what contributes to bitterness. The duration and intensity of your boil will also influence the color and clarity of your finished beer.
3. Cooling the Wort
After the boil, quickly cool the wort to fermentation temperature (around 65-70°F / 18-21°C). An ice bath in your sink or tub works well. Rapid cooling prevents off-flavors. The quicker you cool the wort, the less chance there is for unwanted bacteria or wild yeasts to contaminate it. This is why investing in a wort chiller can be a worthwhile upgrade for serious homebrewers.
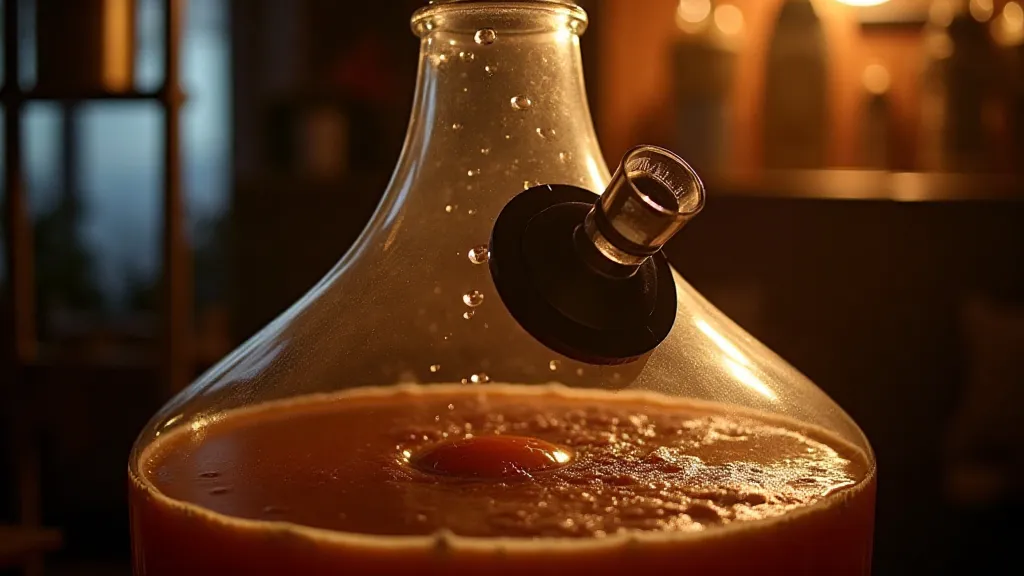
4. Fermentation
Transfer the cooled wort to your sanitized fermenter. Add the yeast (rehydrate it first if using dry yeast). Secure the lid and attach the airlock. Ferment in a temperature-controlled environment for 1-2 weeks. Maintaining a consistent temperature during fermentation is vital for predictable results. Temperature fluctuations can create undesirable flavor compounds and even cause fermentation to stall. If you encounter problems with your fermentation, such as a stuck fermentation, understanding the underlying causes is essential for troubleshooting. Our article on Troubleshooting Common Home Brewing Problems: Bottling Issues, Sticking Fermentations & More provides a detailed guide to diagnosing and resolving common issues.
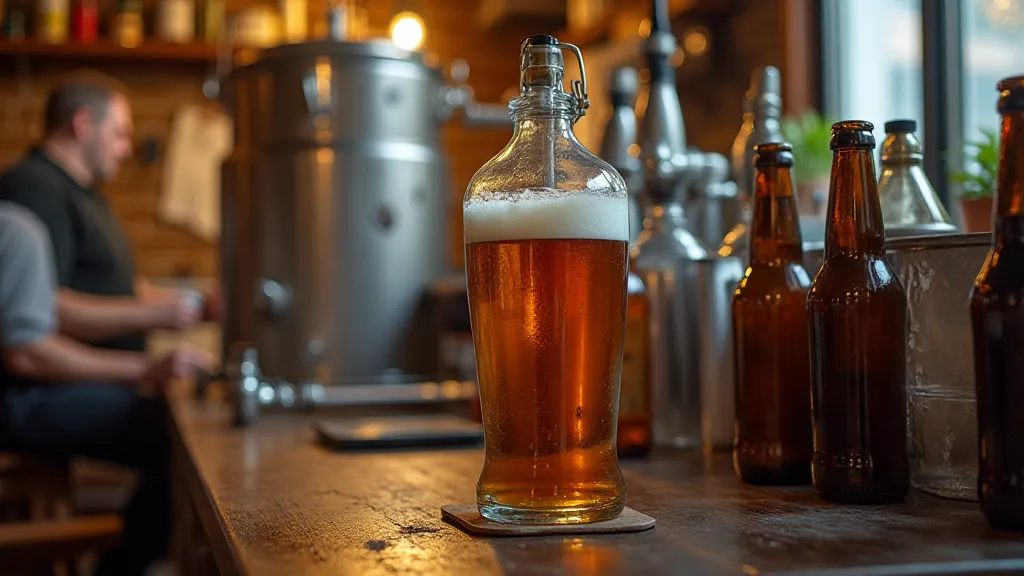
5. Bottling
After fermentation is complete (check with a hydrometer if you have one), transfer the beer to your bottling bucket. Add the priming sugar, dissolve it well. Bottle your beer using the bottling wand. Cap the bottles. Properly sealing those bottles is crucial. A faulty cap can lead to oxidation and a flat, lifeless beer. There are a variety of bottle capper styles available, so it’s worth researching which one best suits your needs. Conversely, if you find yourself overwhelmed with bottles and looking for more efficient packaging, you might want to consider kegging instead of bottling. Learn more about the differences in our article on Bottling vs. Kegging: Which Method is Right for You?.
6. Carbonation and Patience
Store your bottled beer in a warm place (around 70°F / 21°C) for 2-3 weeks to allow carbonation. Then, refrigerate and enjoy your first homebrew! Patience is key! Rushing the carbonation process can result in inconsistent carbonation levels and potentially lead to bottle explosions (though rare, it's certainly not something you want to experience!).
Troubleshooting Tips
Home brewing is a rewarding hobby. Don’t be discouraged by setbacks. Every batch is a learning experience. The more you brew, the more you'll learn about the process and the nuances of different ingredients and techniques. Experimentation is part of the fun! Cheers to your first brew!