Essential Brewing Equipment: A Beginner's Guide to Getting Started
So, you’re ready to dive into the rewarding world of home brewing? Fantastic! Building your first brewing setup can feel a little daunting. There are so many gadgets and gizmos out there that it's easy to get lost. This guide breaks down the essential brewing equipment you absolutely need to get started, from the basics to the tools that will elevate your brewing game. We’ll explain what each piece does and offer some budget-friendly recommendations along the way.
The Core Components: What You Absolutely Need
- Brew Kettle: This is your primary vessel for boiling water and wort (unfermented beer). Size matters; a 5-gallon kettle is a good starting point for brewing 1-2 gallon batches. Stainless steel is generally preferred for durability and ease of cleaning.
-
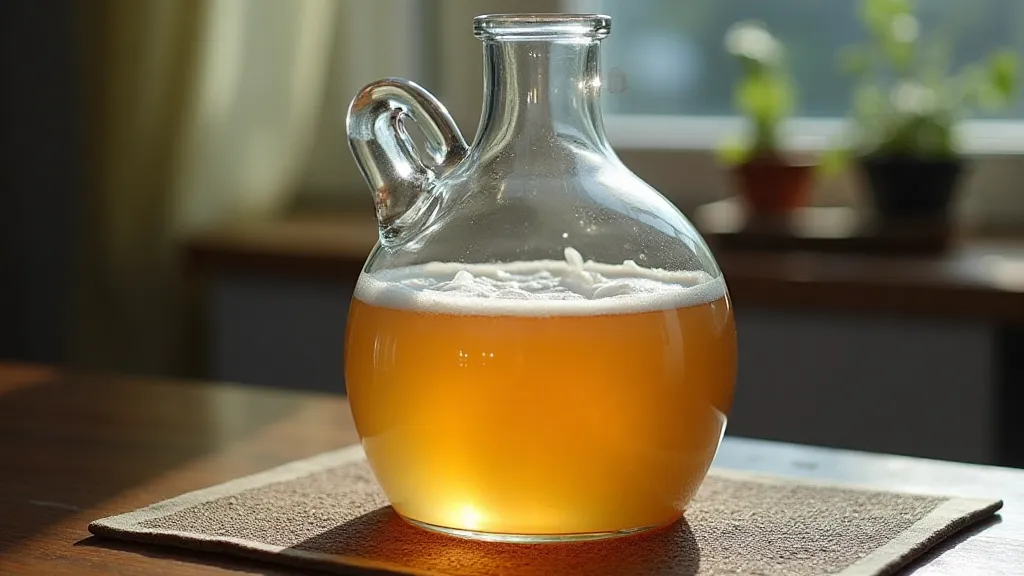
Fermenter: This is where the magic happens – where yeast converts sugars into alcohol and carbon dioxide. Fermenters can be plastic buckets or glass carboys. Plastic is more affordable and less prone to breakage, while glass allows you to observe the fermentation process. A consistent temperature during this stage is critical for flavor development – understanding how temperature influences your final product is key.
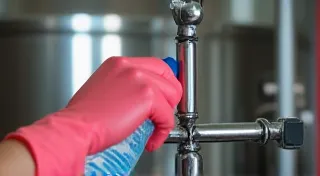
- Airlock: This crucial component allows carbon dioxide to escape during fermentation while preventing oxygen (and unwanted microorganisms) from entering. There are two main types: three-piece and S-shaped. Both work equally well. Maintaining a clean and sterile environment throughout the whole process is paramount, and the airlock contributes significantly to this.
- Bottling Bucket: A bottling bucket is a five-gallon bucket with a spigot at the bottom. It allows you to transfer your beer from the fermenter to the bottles in a controlled manner, minimizing oxidation.
- Bottling Wand: This simple tool attaches to the spigot of your bottling bucket and helps you fill bottles from the bottom up, reducing oxygen exposure and foaming.
-
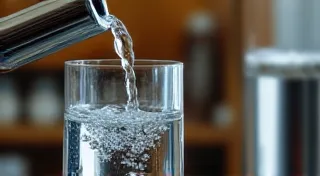
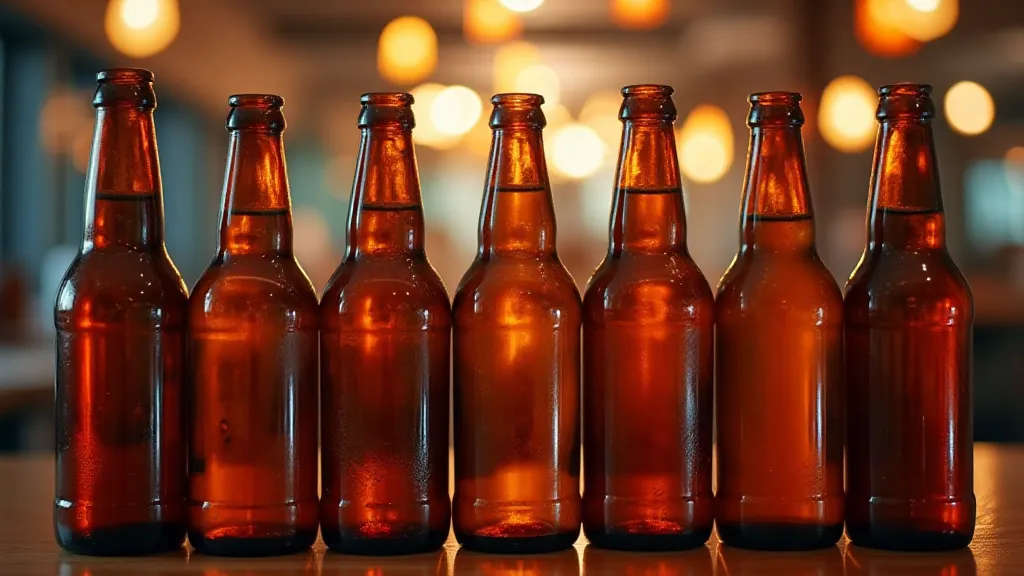
Bottles: You’ll need around 24-48 standard 12oz bottles. Amber bottles are best, as they protect the beer from light. You can buy new bottles or reuse commercially produced bottles (thorough cleaning is essential!). For some brewers, the process doesn't end with beer – they might explore crafting other beverages like brewing cider.
- Capper and Caps: To seal your bottles, you're going to need a bottle capper and matching caps. Wing-nut cappers are common and relatively inexpensive.
Beyond the Basics: Helpful (But Not Essential) Equipment
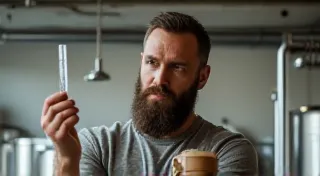
- Hydrometer: This device measures the specific gravity of your wort and beer, allowing you to track fermentation progress and estimate alcohol content. A very useful tool as you progress. It’s a great way to get a handle on the progress of fermentation and diagnose any issues that arise, like a troubleshooting stalled fermentation.
- Thermometer: Precise temperature control is important for many steps in the brewing process. A good thermometer will help ensure consistent results. Understanding how temperature effects your process is crucial for quality and repeatability.
- Sanitizer: Sanitation is paramount in brewing! Invest in a good quality brewing sanitizer, like Star San or similar, and follow the instructions carefully. Even a small oversight can lead to unwanted flavors or infections.
- Auto-Siphon: Makes transferring wort and beer much easier and reduces the risk of oxygen pickup.
- Mash Tun (for All-Grain Brewing): If you plan on moving beyond extract brewing, a mash tun will be needed for mashing grains.
Understanding Your Ingredients & Metrics
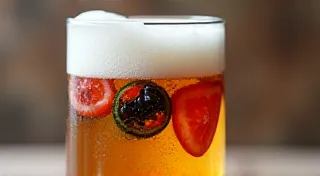
Before you dive into equipment, let’s quickly touch on a couple of key measurements. Knowing a little about International Bitterness Units (IBUs) and Standard Reference Method (SRM) can give you better control over the final product. IBUs indicate bitterness, while SRM reflects color. These values aren't essential for beginners but will become increasingly important as you experiment with different recipes.
Starter Kits: A Convenient Option
For beginners, a starter kit can be a great way to get everything you need in one package. These kits typically include a kettle, fermenter, airlock, bottling bucket, bottling wand, bottles, caps, and a capper. However, quality can vary, so it's important to research the kit's components.
Starter Kit Comparison
| Kit Name | Included Items | Estimated Price | Pros | Cons |
|---|---|---|---|---|
| BrewShare Beginner's Kit | Kettle, Fermenter, Airlock, Bottling Bucket, Wand, 5.5 Bottles, Caps, Capper | $150 - $200 | Comprehensive, Good value | Some components may be lower quality |
| Northern Brewer Complete Brewing Kit | Kettle, Fermenter, Airlock, Bottling Bucket, Wand, 5.5 Bottles, Caps, Capper | $200 - $250 | Reputable brand, Good quality components | Slightly more expensive |
| Mr. Beer Premium Extract Brewing Kit | Kettle, Fermenter, Airlock, Bottling Bucket, Wand, 5.5 Bottles, Caps, Capper | $100 - $150 | Very affordable, Easy to use | Smaller capacity, lower-end components |
Beyond Beer: Expanding Your Horizons
Once you're comfortable with the basics of brewing beer, you might find yourself wanting to explore other fermented beverages. The skills you learn brewing beer translate surprisingly well to other projects. For example, crafting your own making mead, a delicious honey wine, requires many of the same principles of sanitation and temperature control. It's a natural progression for many homebrewers looking for their next challenge.
Final Thoughts
Getting started with home brewing doesn't have to break the bank. Begin with the essentials, and gradually expand your equipment collection as your brewing skills and ambitions grow. Remember that consistent sanitation and temperature control are key to producing high-quality beer. Happy brewing!